Here’s my step by step method for roasting a holiday turkey. This one was roasted for Thanksgiving and it was delicious. I also enlisted the help of my family. Yianni, Calvin and Rebecca did a great job. First you must start with a turkey that had a happy life. Here’s the organic free range turkey from Whole Foods that Yianni ordered ahead of time.

Preheat oven to 325° F. Clean the bird inside and out. Remove all the turkey carcass offal: gizzards, heart, liver and assorted giblets. Remove the neck and place it and the rest of the offal into a saucepan. Double check for any paper and plastic that might have covered the offal and discard it. Set the saucepan aside. We will return to it later.
Rinse the inside and outside of the bird. Make sure all of the liquid is drained out and pat the outside dry with a paper towel. Place it on a rack in a roasting pan. Fill the carcass with onion, garlic and thyme. [See printable recipe below.]
Starting at the large cavity end, slide your hand between the skin and the meat to loosen the skin under the turkey breast. Be careful not to rip it. Spread a stick of unsalted butter under the skin and over the breast meat. Massage the outside of the skin to spread the butter evenly over the whole breast.
Truss the turkey by tying the legs together and then tying around the bird. This makes it easier to move the bird later for resting and carving. Calvin trussed the bird artfully and you can see his handiwork in the photo. [Ha! Handiwork! Get it?]

Massage the outside of the skin again, this time with olive oil. [My hand was still buttery when I did this.] In a mortar and pestle, mix and mash the salt and thyme leaves. Rebecca did this while my hand was wrist deep in butter and oil. Sprinkle the turkey with the salt and thyme mixture.

The turkey should roast in a 325° F preheated oven. No basting! Let the butter and oil do the work for you.
While the turkey is roasting add a few cups of turkey stock to the saucepan that had been set aside to cover all of the offal. [I bought the turkey stock in a box off the shelf at my local market.] Bring to a boil and let simmer. Strain off and reserve the liquid to make a gravy by mixing in a classic butter and flour roux. Keep the gravy warm over very low heat until you are ready to serve.
When you see the skin on the roasting turkey breast turn golden brown, cover the breast loosely with foil. This will prevent the skin from burning. Roast the turkey until a meat thermometer reads 160° F. Read the breast meat and the meat between the leg and thigh. This will take at least 2 1/2 to 3 hours depending on the size of your bird. When the turkey reads 160° F remove it from the oven and cover tightly with aluminum foil. Allow it to rest for 15 to 20 minutes before carving.
With Calvin’s artful trussing job, he was able to pick up the turkey by the string and before transferring it to the cutting board, drain off any excess liquid into the roasting pan. Those drippings we then reserved for a future gravy.

Yianni carved the turkey and it was a great success. We will never baste a bird again.
Happy Thanksgiving Turkey
Author: Kitoula
Recipe type: Savory - Poultry
Cuisine: American
- 1 (13 to 15 pound) fresh organic free range turkey
- 1 stick of butter at room temperature
- 1 round tbsp of Salt
- Large bunch of fresh thyme
- 1 large onion, unpeeled and cut in quarters
- 1 whole head / bulb of garlic, unpeeled and cut in half crosswise
- Extra virgin olive oil
- 1 box of turkey broth - 4 cups
- Equal parts butter and flour for roux
- Preheat oven to 325° F.
- Clean the bird inside and out.
- Remove all the turkey carcass offal: gizzards, heart, liver and assorted giblets. Remove the neck and place it and the rest of the offal into a saucepan.
- Double check for any paper and plastic that might have covered the offal and discard it.
- Set the saucepan aside.
- Rinse the inside and outside of the bird.
- Make sure all of the liquid is drained out and pat the outside dry with a paper towel.
- Place it on a rack in a roasting pan.
- Fill the carcass with onion, garlic and thyme.
- Starting at the large cavity end, slide your hand between the skin and the meat to loosen the skin under the turkey breast. Be careful not to rip it.
- Spread a stick of unsalted butter under the skin and over the breast meat. Massage the outside of the skin to spread the butter evenly over the whole breast.
- Truss the turkey by tying the legs together and then tying around the bird.
- Massage the outside of the skin again, this time with olive oil.
- In a mortar and pestle, mix and mash the salt and thyme leaves.
- Sprinkle the turkey with the salt and thyme mixture.
- The turkey should roast in a 325° F preheated oven. No basting!
- While the turkey is roasting add turkey stock to the saucepan that had been set aside to cover all of the offal.
- Bring to a boil and let simmer.
- Strain off and reserve the liquid to make a gravy by mixing in a classic butter and flour roux.
- Keep the gravy warm over very low heat until you are ready to serve.
- When you see the skin on the roasting turkey breast turn golden brown, cover the breast loosely with foil.
- Roast the turkey until a meat thermometer reads 160° F.
- When the turkey reads 160° F remove it from the oven and cover tightly with aluminum foil.
- Allow it to rest for 15 to 20 minutes before carving.
3.1.09
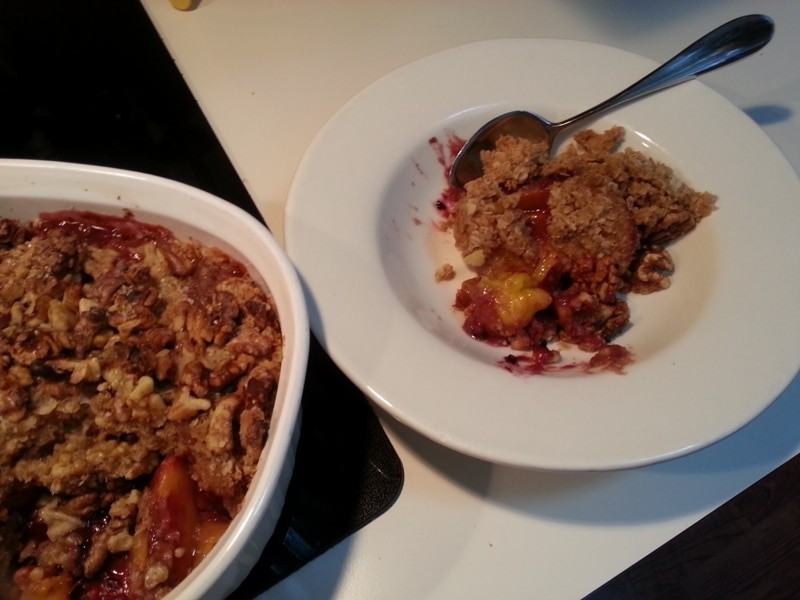
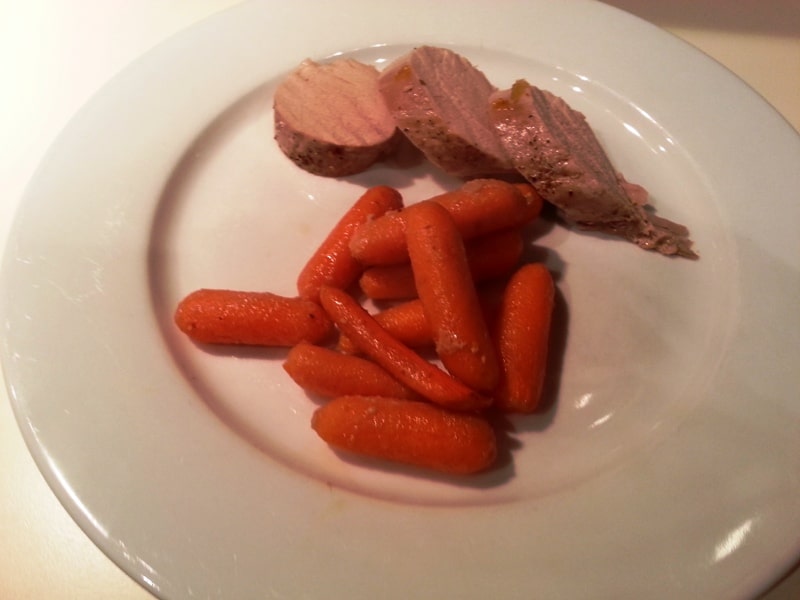 I served it with roasted carrots. Here’s a suggestion: make enough glaze to use on the carrots too.
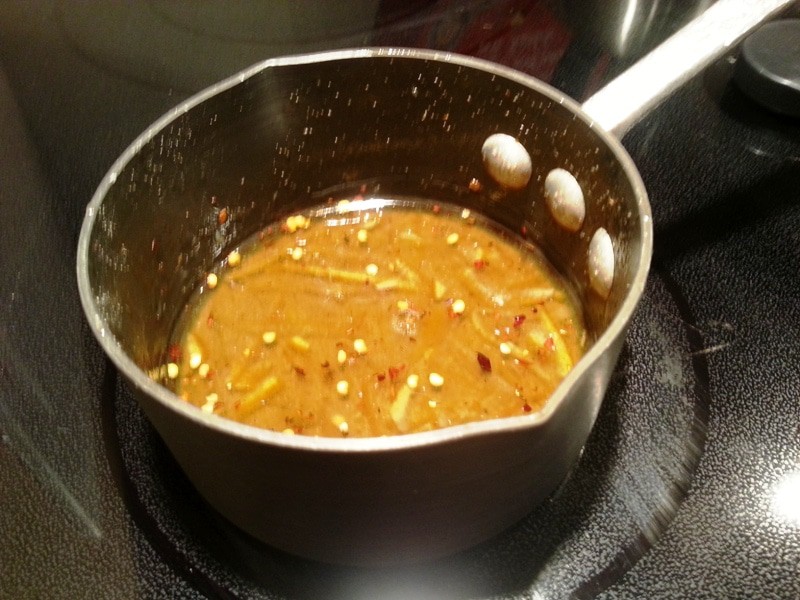 To make the glaze you mix together the marmalade, lemon juice, red pepper flakes, and cumin in a small saucepan. Melt the ingredients together, but don’t over heat or boil.
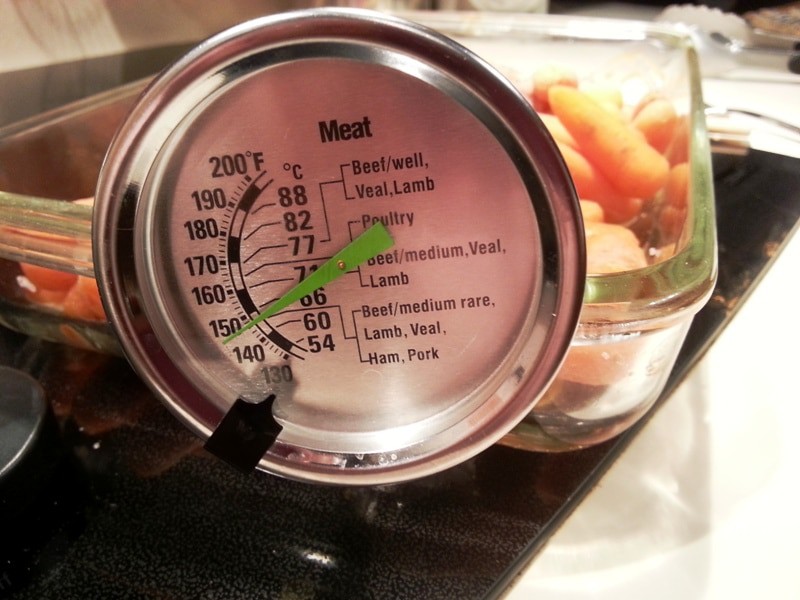 Roast the pork tenderloin until the internal temperature reaches 150°F.
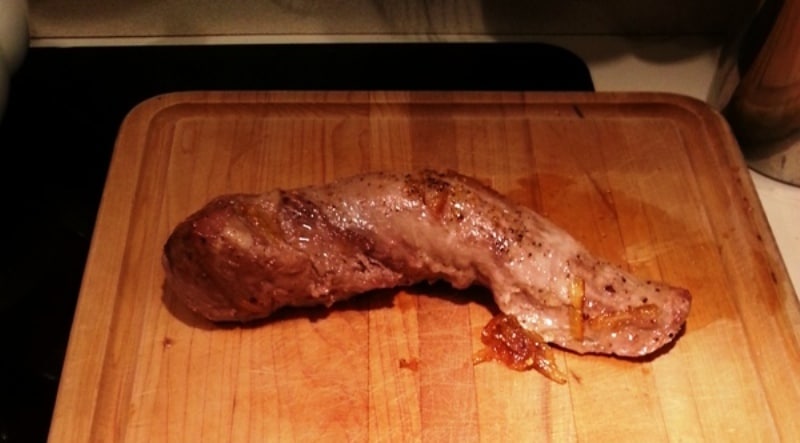 As with all meat, it’s important to let the tenderloin rest before you carve it.
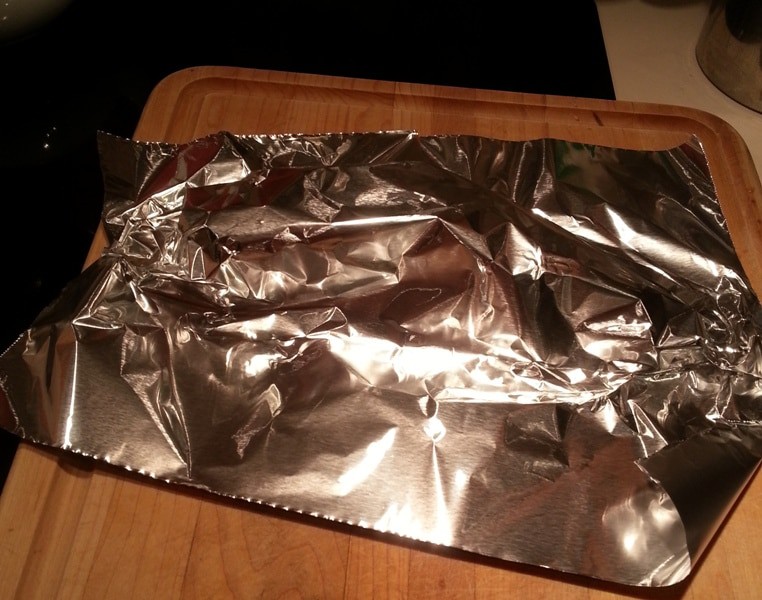 Cover it with foil and let it rest for at least 5 minutes.
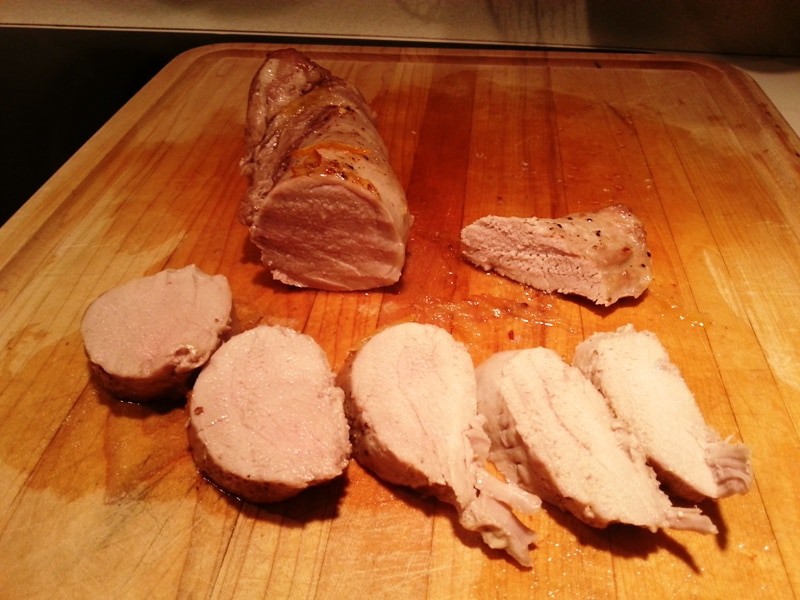 At the internal temperature of 150° it should be slightly pink, and medium-rare. Also, feel free to substitute any jam or jelly. Raspberry jam or even red pepper jelly would be delicious.
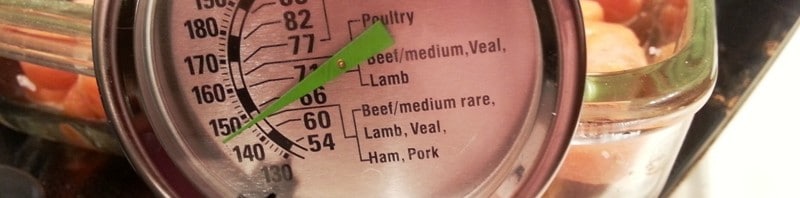


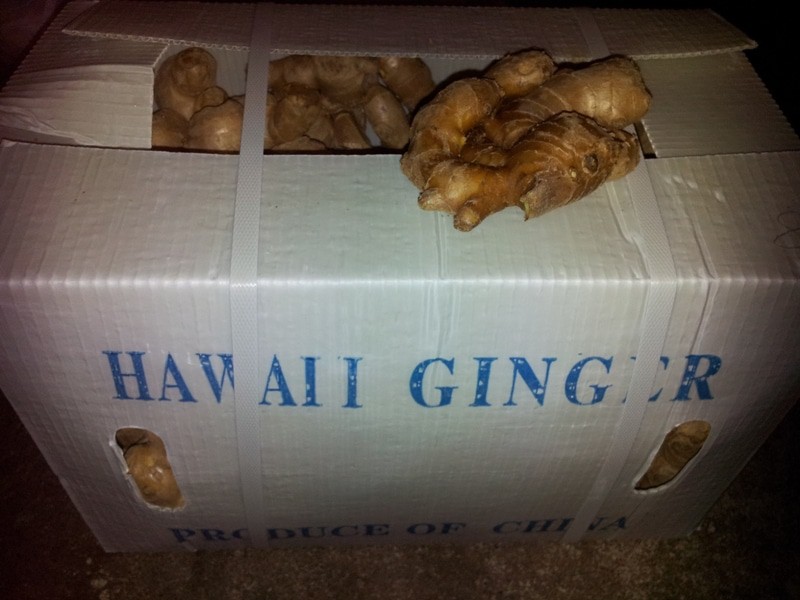
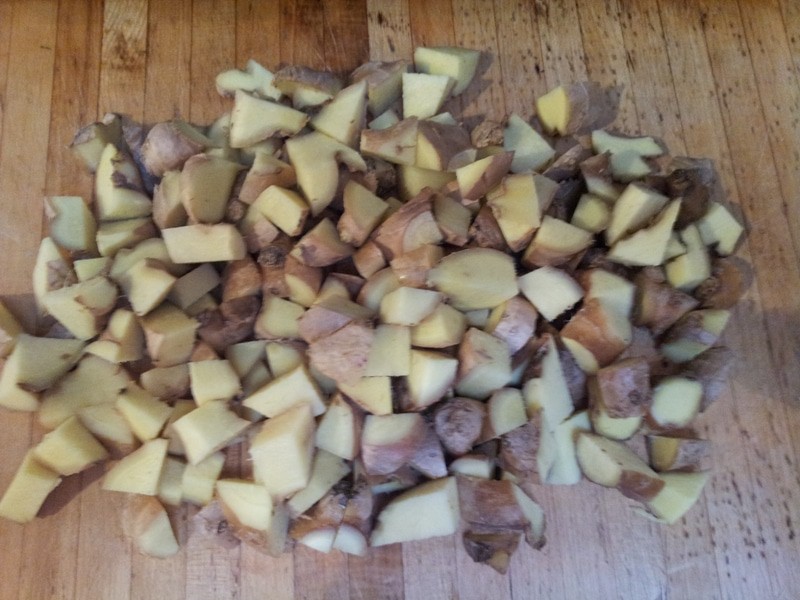
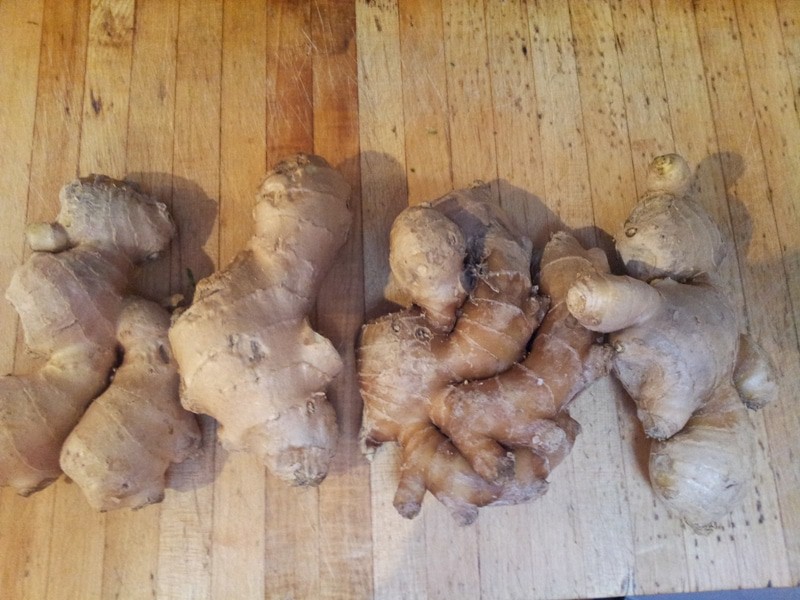 I think the ginger root looks so interesting, almost like a gnarled up piece of tree.